One important and often difficult to achieve aspect of a good food storage plan is meat. My strategy had always been to purchase canned meat at the grocery store or through group buys, but that gets pretty expensive! We recently learned about and tried bottling chicken. I had heard about it but it sounded like it was probably a huge job. Then Mom told me a couple weeks ago that it was really easy – she was right (of course)!
Here’s the simple description for bottling chicken: cut it up into 1 inch square chunks, put 1/2 tsp salt in bottom of bottles, put chicken in bottles, pressure cook it for 90 minutes. That’s it, super easy!
But, that’s too short of a blog post so here is the photo essay of how to can or bottle chicken. Incidentally, I’ve been told that you follow the same procedure to bottle beef, venison, elk, any meat.
To start with, we bought 80 pounds of raw skinless boneless chicken breasts from a great sale at Macey’s – at $1.19/pound. Fortunately for me, I have lots of kids who can help out, makes a big job happen quickly.
Here we are cleaning fat off the chicken and cutting up the breasts:
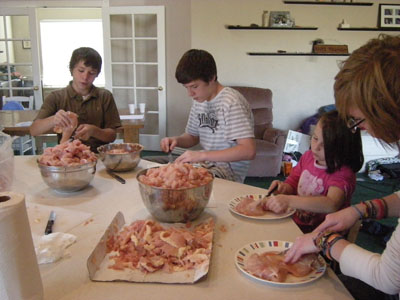
The meat needs to be cut into about 1 inch square chunks:
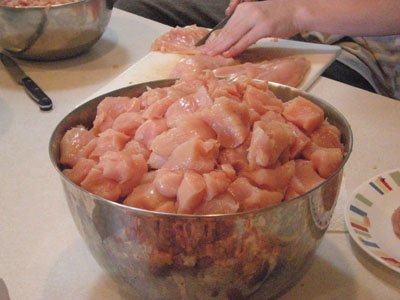
Here is what 80 pounds of chicken looks like all ready to be bottled (notice the quart jar for perspective):
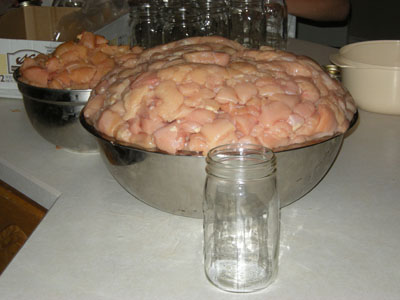
The next step is to put 1/2 teaspoon of salt in the bottom of the jar (you can add whatever seasoning you like) then fill the jar with chicken to about 1 inch below the top and load them into the pressure cooker:
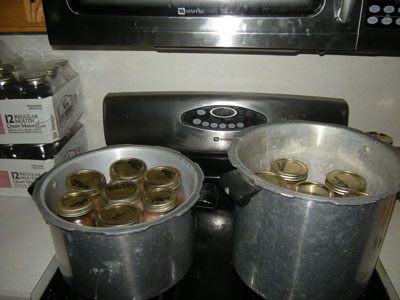
Heat up the cookers on high until they start rocking, then back off the heat until you get 3 rocks a minute, in the mountain region cook at 15 pounds of pressure. Maintain 3 rocks/minute for 90 minutes (time starts after first rock).
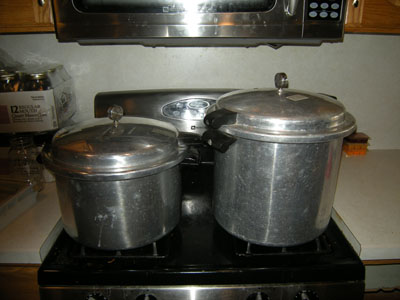
After 90 minutes of cooking, turn off the heat and let the cookers sit for 30 minutes – DO NOT open them before hand, they’ll blow up! After 30 minutes, remove the rocker, if it hisses you still have pressure – WAIT until it doesn’t hiss!
We averaged 2 pounds of chicken per bottle giving us 40 bottles:
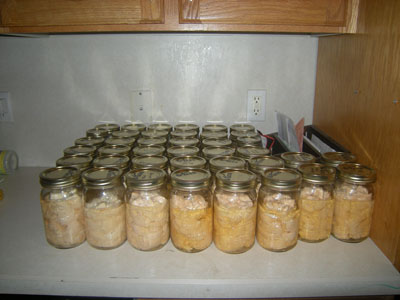
Notice in the picture that there is liquid in the jars – that’s broth baby! You don’t put any water in them at all, the cooking process fills the bottle up with juice.
After all our hard work we feasted on a bottle – it was delicious! The fully cooked chicken comes out of the bottles and falls apart and tastes wonderful.
So, let’s calculate. For about $2.50 on sale, you can buy a small tuna size can of chicken that weighs 10 ounces. We’ve got about 32 ounces in each jar, giving us a little more than 3 cans in each jar. That puts an equivalent value of $7.50 on each jar and we got 40 jars worth. That gives us $300.00 equivalent value of chicken – and it costs us $110.00 – $80 for the chicken and $30 for the jars. So we saved about $190.00 and ended up with a lot of chicken for storage! Next up for us is to do this with hamburger. I have about 80 boxes of hamburger helper in storage – my goal is to have a bottle of already cooked hamburger to go with each box.
- Phil801
